Tuesday, December 11, 2012


My favorite kids' Christmas school project

Things you'll need for this project:
  • Soda cans
  • White matte spray paint
  • Different colors of acrylic paint for the body
  • Different flesh tone for the face
  • Googly eyes
  • Little cork noses are nice, but not necessary
  • Red acrylic paint for cheeks, using a new pencil eraser to place them
  • Ribbon or raffia for the wings
  • A loop of ribbon to use to attach it to the tree
  • A little loop of gold craft beads for a halo
  • Something for the angel's hair... I used Spanish moss on the one in the picture
  • Little pieces of sheet music cut and folded for the angels to sing from ( the angel in the picture lost her sheet music several Christmases ago) 
  • Hot glue/ gun
  • Little plates to put the paint on
  • I cut up sponges into fourths for the kids to use to paint their angels (wet)
  • A styrofoam plate on which to set each angel to let it dry
1.  First, crimp the can a little bit.  Make sure you've washed all the soda out of the can, so it won't be    sticky.
2.  I put some newspaper down outside and spray paint all the cans with a matte white spray paint.
3.  Have the paints you'll need for the project:
     different shades for the body:  lavender, blue, pink, purple, etc
     different flesh shades and red for the cheeks
4.  I make up little ziploc baggies with the things each angel needs:  googly eyes, hair, halo, ribbon for the wings (already folded and secured with something like a twist tie).
5.  Have "centers" set up for each portion of the angel:
     * the body painting center
     * face painting center
     * several moms with their handy glue guns ready to attach the wings, eyes, etc.

This is a great project for a Christmas party, especially is there are other projects to be done.  That way, the kids can paint the body and let it dry.... go eat their snacks... paint the face and let it dry... go do another craft... and then go to the mom with the hot glue gun to attach all the finishing touches.

The kids love this craft.  The year I did it with my daughter's third grade class ( the angel in the pix... she's now 22-years-old), the kids loved making the decisions about which body color to paint and flesh.  
The classroom had a Christmas tree and each child's angel was on the tree. It was great!


Saturday, November 17, 2012

Christmas Stockings with Totem-pole Names


I love Christmas and I love these Christmas Stockings I made for my family.  My mom did something similar when I was a kid.  


I got sparkly felt in red and white for the stockings.

      To make the names, cut out a piece of paper (I use freezer paper) and fold it in half.  Make sure the height is small enough to fit in the stocking.
      Write the name in cursive and fill it out so that the letters have width to them.


Go ahead and adhere the white felt to the wonder-under interfacing by ironing per the instructions. And then pin the name onto the felt and cut it out.


Pull off the other side of the transfer web and iron the totem-pole name onto the red felt stocking you've cut out.  I made my stockings pretty large because I wanted the name to show well.  You can make your stocking any size you want.  Just remember to make sure the name fits inside the stocking.

You'll need to sew the white cuff top onto the stocking to the "wrong" sides, so that when you sew it up, you'll be able to fold the white down.  Also, insert the tag for hanging onto the back side of the stocking when you sew the top white part.

Be sure to make the white cuff top a little larger than the stocking so that it will fold over well.  Once the stocking is sewn, be sure to clip the curves.
Turn your stocking to the outside, iron lightly over it and then trace the name with gold paint.
After the paint dries, hang it on your mantel and enjoy!

Saturday, August 4, 2012

Nicholas Evans' books

I have just finished the fourth of five Nicholas Evans' books and love them.  He is
called the "master of intense and complex relationships" and I believe it.  With every
book, it's like he lassos my heart and twirls it around for a while.  I care deeply about each of
his characters and when the book is finished, I'm sad I'm through.  Enjoy!

Saturday, June 2, 2012

Funky Frame Earring/Necklace Holder


                  Funky Earring/ Necklace Holder


                   My daughter and I made this funky earring holder for her room.  

First, buy a funky frame you like.

What else you'll need:
     *  screening material
     *  wire clippers
     *  big staple gun
     *  hangers for your frame (if not included)
     * maybe some small blocks of wood to lift the frame from the wall for easy placement of jewelry
     *  small cup holders
     * hammer and nails

First, using a little nail to start the hole, make some holes in the top part of the frame so that you can insert and screw in the cup holders.

Then, turn over the frame and lay the screening material onto the frame.  It will take two people, one to hold the screen and one to staple it into place.

You may want to add little blocks of wood on the back of the frame to hold it a little away from the wall to make it easier to add the earrings.  We didn't do this and my daughter thought it worked okay.

Hang your masterpiece and enjoy!


Saturday, April 28, 2012

Pix of our family

Pix of our family:


Little Levi, our grandson, One Cool dude!

Contemplating the wonders of the universe...
Our son Patrick, daughter-in-law Amy and little Levi
Uncle John and his nephew Levi
Aunt Kiki with Levi
(Me) Gigi and Levi
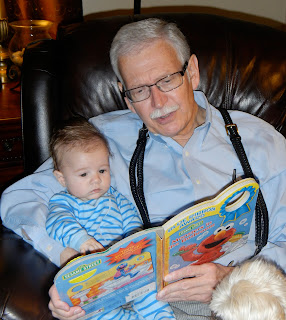
A truly classic picture of my husband, "Grandpa", reading to Levi,  11 weeks old.

Saturday, April 21, 2012

Grandpa and Levi

Here is a picture of my sweet husband Grandpa and our even sweeter grandson Levi.
We want to read and read to him.  I got this picture of Grandpa reading to our 11-week-old
grandson Levi.  He loves it.       

We knew he would.   <SMILE>

Saturday, February 11, 2012

Levi's personalized blanket

My first real quilt attempt.  Got the top at a local hobby shop, had our grandson's statistics embroidered at a local store, and then quilted it myself.  Not fancy, but I thought it came out pretty good for my first real quilting.

Wednesday, February 8, 2012

Levi's baby quilt

Made this quilt for my new grandbaby.  It was so easy!  I'm a newbie to the quilting scene.  I got the top off a bolt of similar quilt tops at a local hobby place, then... as soon as our grandbaby was born, I went to the local gift/ embroidery place and had them embroider all the specifics on my little one.  I put the batting, flannel backing and then sewed it all together, along with satin binding.  Then, my first effort at machine quilting.  It's my first attempt, but I'm proud of it and I hope it will be a cherished keepsake for my little grandson.  <SMILE>

CRNA hippies

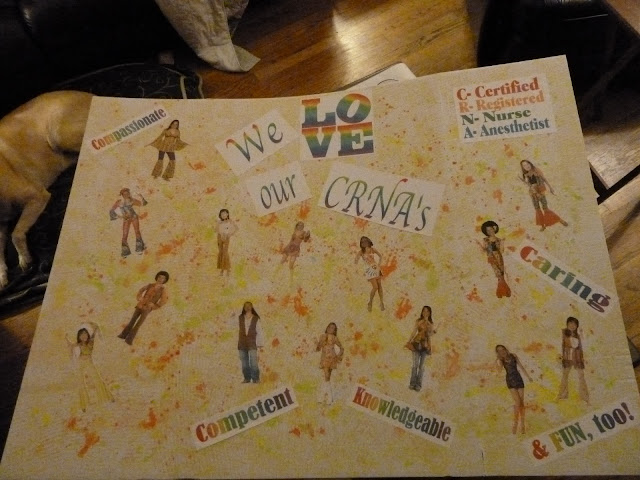
Advanced Practice Nurses' Week coming up, so my boss asked me to make a poster for us.  I felt like having a little fun with it, so went retro with all of us playing the part of hippies.  What fun!

Wednesday, February 1, 2012

Mom's Place- Flirty Trash Cans

My mother was, I think, the most creative person I've ever met.  Her fingers were always itching to do some project.  You name it... she did it... She could barely stand for there to be one square inch of unpainted surface anywhere. 

One of my favorite painting projects of hers was our outdoor trash cans.  She painted a female face on one and a male face on the other, with the two faces "making eyes" at one another.  It never failed to make me smile.....


Paper Mache' Valentine Boxes


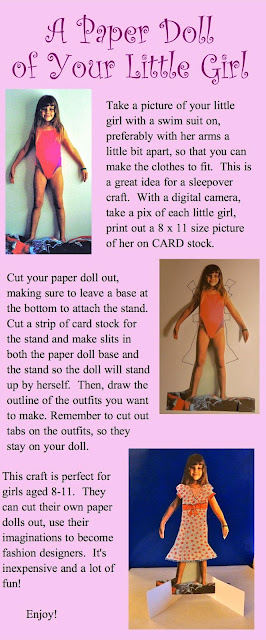
A Paper Doll for Your Little Girl